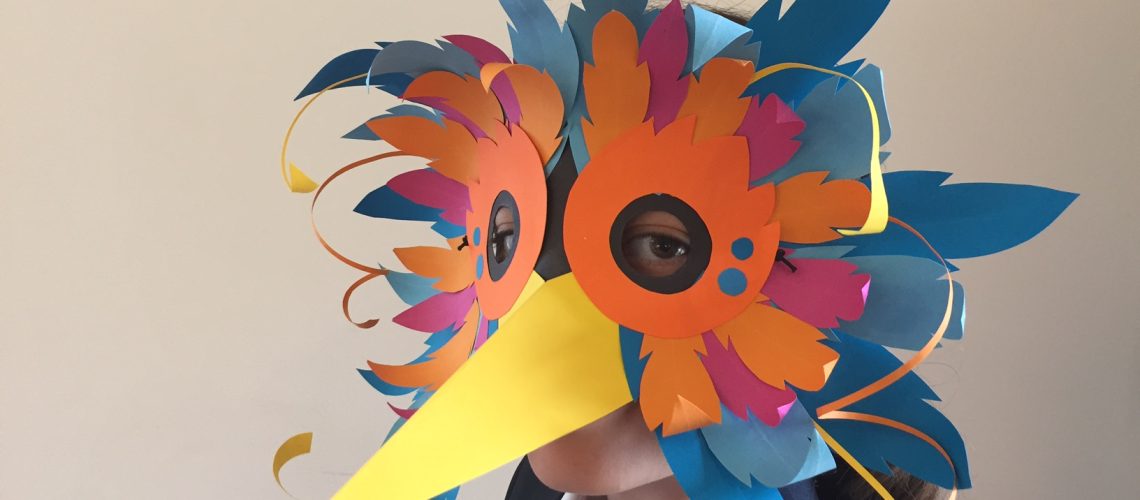
INSTRUCTIONS
You will need:
- The template sheet printed out Card in a variety of colours
- A pencil
- Scissors
- Glue stick or paper glue
- A length of elastic (around 30cm) or two 25cm pieces of string or ribbon
How to make it:
- Cut out the template pieces on your printed sheet.
- Choose a piece of card for your beak and one for your eye mask, draw round them using your pencil and cut them out.
TIP: The colour of your eye mask will only show around the eyes and in the places not covered by decoration once you have put all your feathers on.
- Fold the beak in half along the length (dotted line) and glue it onto the eye mask using the marks on the
template as a guide. - Using your eye patch template, draw out two (they can be the same colour or different) and cut them out remembering that they will be mirror image when you stick them on. Put them aside as they go on last.
- Time to cut out your feathers. You will have three different sizes on your template sheet. It’s up to you how many you use, which size and which colours. I used all three sizes for mine, approximately 10 each
of the large and medium, and 20 of the smallest ones.
TIP: If you fold a strip of card in two, cut an arch out along the fold to create your feather shape, then cut into each one for the feathery effect, it’s much faster. Have a look at the short video on our website
showing you how to do it, or if you prefer, use the templates to draw yours out individually. I like to curl
mine round the pencil when I’ve cut them out to give my bird some personality!
- Stick your feathers onto your eye mask, I like to go all around the edges first with the largest feathers and gradually work inwards with the smaller ones but it’s up to you.
- When you’re happy with your feathers, stick your two eye patches on. You can now use all the scraps
of card to create spots, stripes and shapes to add detail, and you can make long twirly pieces to stick
between the feathers to add movement – it’s up to you! - Finally, using the point of your pencil, carefully make a small hole through the whole thickness of your
mask roughly in the position marked on your template. Push the end of the elastic (or your two pieces of string or ribbon) through the holes (back to front) and tie a big knot in the end of the elastic to keep it in place. It will show on the front of the mask but won’t be noticeable amongst the feathers! You can tighten the elastic to fit by making a knot further along and trimming the end. If you have used two pieces of ribbon or string you can tie them around your head to fit. - Admire!


