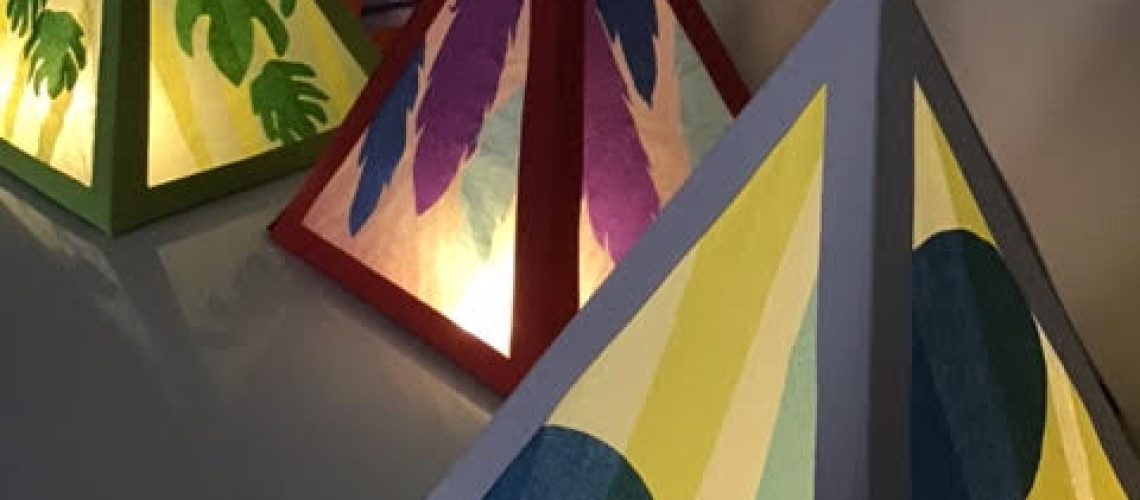
INSTRUCTIONS
You will need:
- Two sheets of A4 card (colours of your choice) printed with Pyramid sides download here
- One sheet of A4 card (colour of your choice) printed with Pyramid base
- Tissue paper of various colours
- Pencil
- Glue stick
- One set of LED battery operated fairy lights or battery-powered tea light
How to make it:
- Cut out the structure for your lantern from the templates you have printed onto card, following the solid
lines, not forgetting to cut out the windows. Do not cut along the dotted lines. You will have two similar
pieces for the pyramid and one square piece for the base. - Using one of the lantern windows as a template, draw four triangles on to tissue paper, leaving some
space around each triangle for a border. - Decorate these triangles within the lines you have drawn using shapes cut from coloured tissue paper and carefully stick your design using the glue stick. These will form your lantern windows.
TIP: You can layer the colours of tissue paper to get different effects when your lantern is lit. You can also use pen to draw patterns or to write a message.
- When you’re happy with your design, cut around the triangles leaving a centimetre border all the way
around. - Glue these onto the card structure that you cut out in step 1, on the side with the printed dotted lines(the inside of the lantern).
- Fold the card lantern structure along the dotted lines (keeping the dotted lines on the inside of the fold) and glue the tabs to create a pyramid shape.
- Stick the pyramid to the base. Put your fairy lights or battery-powered tea light inside your lantern
through the hole in the base, making sure that you can reach the on/off switch. - At dusk, switch on your lights and admire your creation!


